Saturday, October 10, 2015

GSI Pinnacle Dualist Cookset

Until now I've been using an East German mess kit and Coleman Peak 1 stove as my cookset. While I've never really had a problem with either the mess kit or the stove, the mess kit was oddly shaped thus making it difficult to pack. It also made it impossible to store the fuel canister inside the kit as well.


I began looking for a better option. Enter the GSI Pinnacle Dualist cookset and Snow Peak Giga Power stove (with Piezo automatic ignitor).


The cookset is made by GSI Outdoors, while the stove is made by Snow Peak. These are two completely separate companies, however the Pinnacle Dualist was designed with Snow Peak's Giga Power stove in mind. In fact, on the diagram imprinted on the side of the pot, the Giga Power is shown as an example of a stove that is packable inside the pot.

The entire system is contained in one tight package.


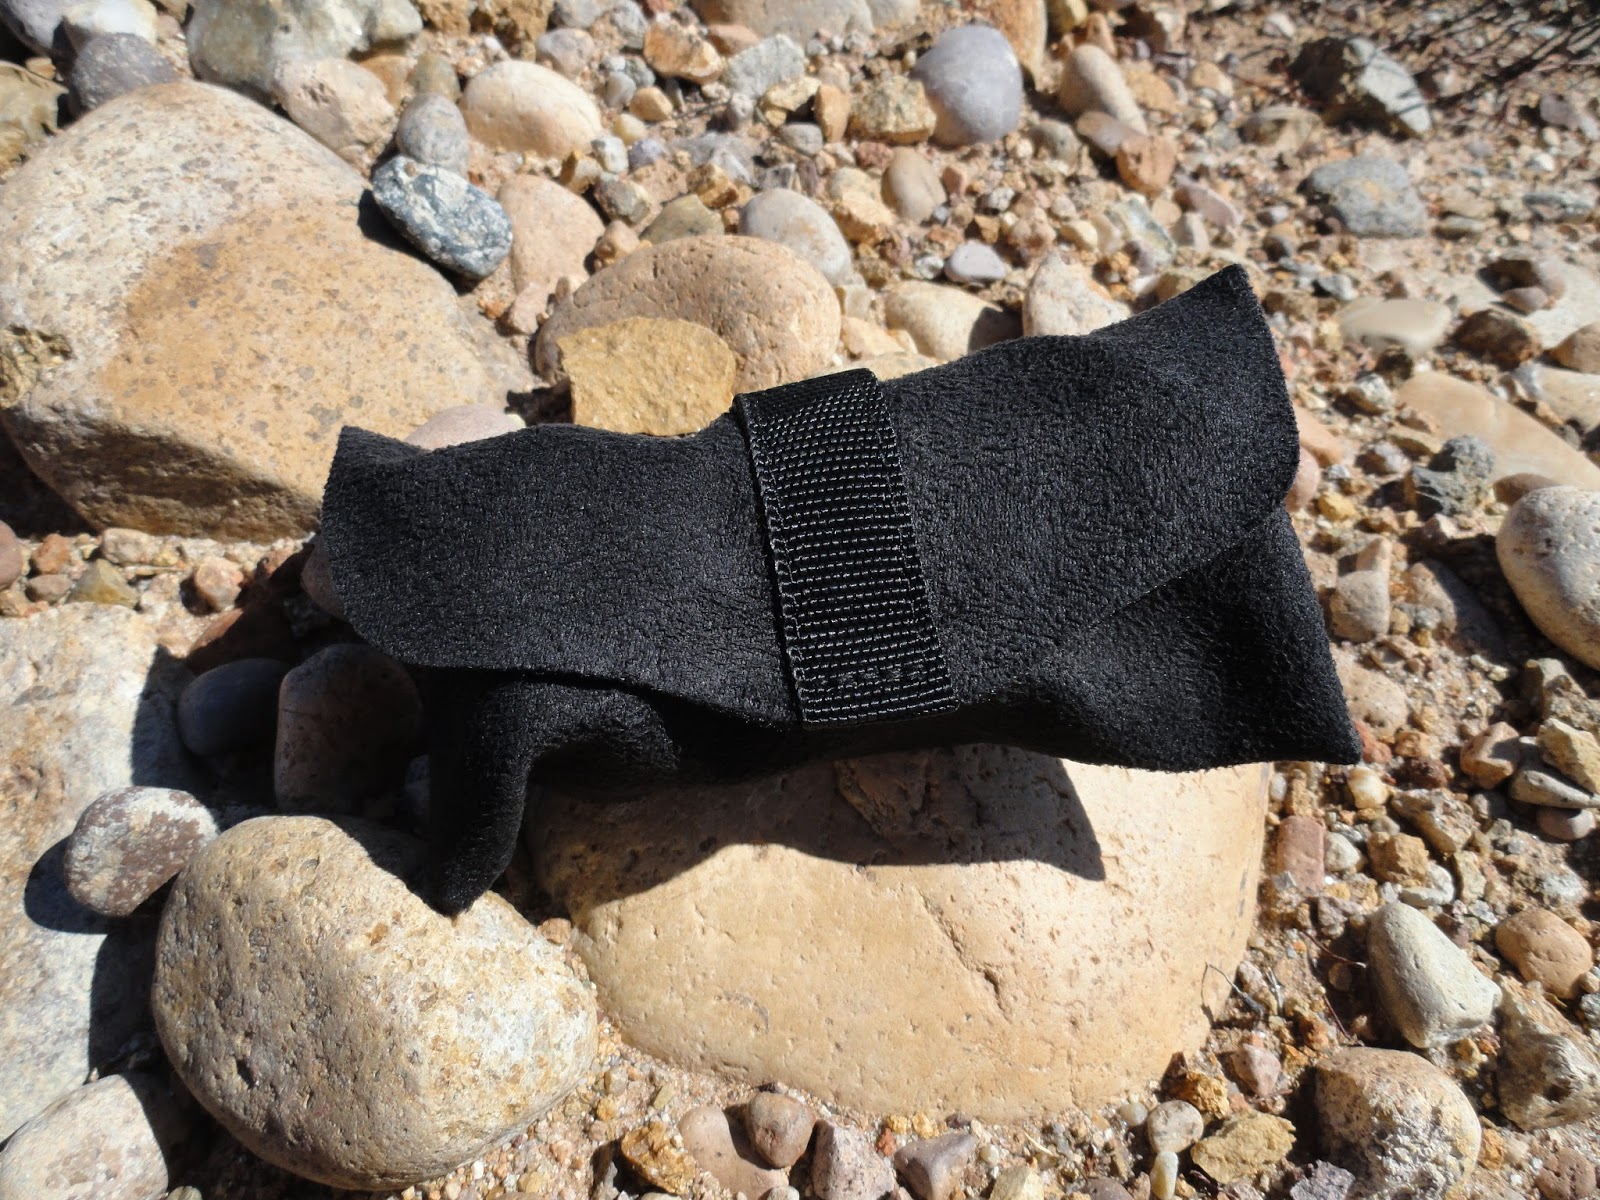
The included black nylon cookset pouch serves double duty as a "sink.". While I wouldn't want food particles or greasy residue inside the pouch from using it as a sink, I can see myself using it as an improvised general water container. As you can see, the seams of the sack are welded and the interior of the sack has a rubberized feel to it.


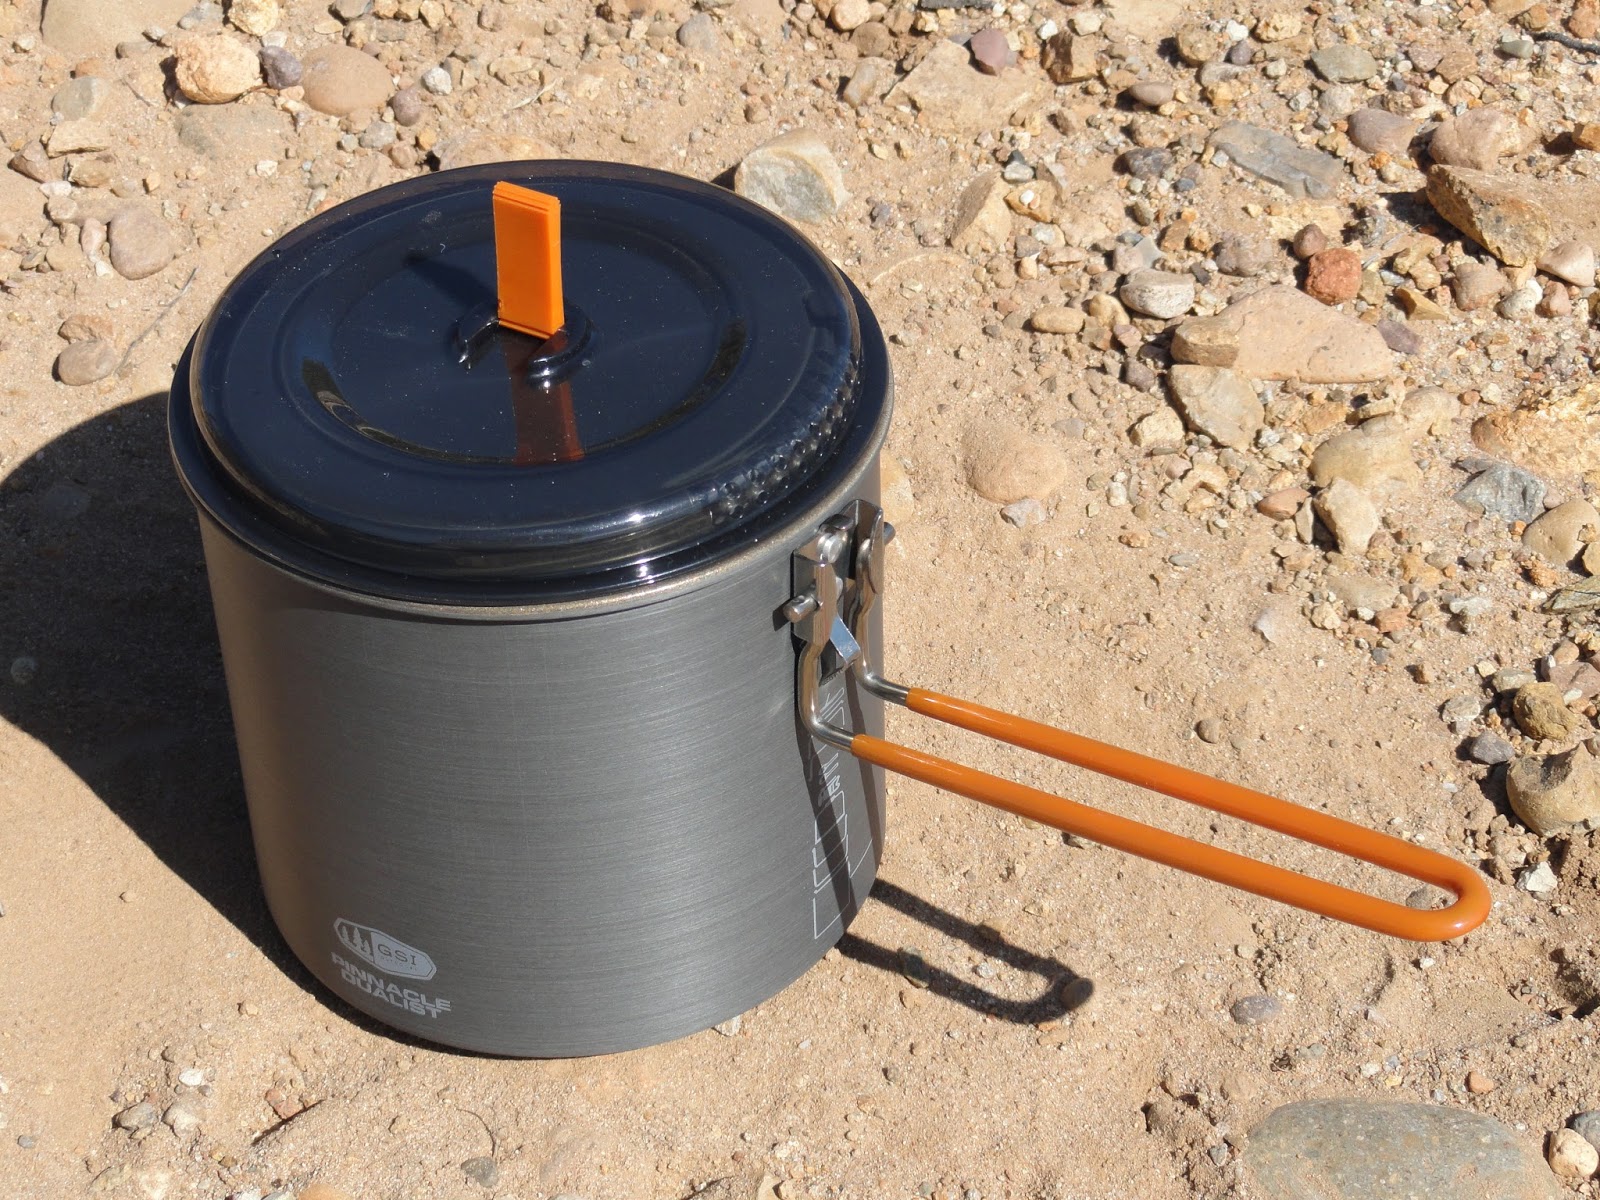
The handle of the pot is permanently attached, no detachable or flimsy pot handles here. The handle locks in both the open and closed position, and can be released by squeezing the sides of the handle together.  The handle is nice and sturdy when opened, and keeps the entire system together when closed. Here's a closer view of how the handle attaches to the pot.


The lid of the pot is transparent which gives you the ability to see if your water is boiling without lifting the lid and allowing heat to escape. The lid also has holes allowing you to use it as a strainer, a NICE TOUCH for making Ramen noodles. The handle of the lid is a simple fold-down tab.


The entire cookset and stove nests neatly inside the pot.


One of my initial concerns with this system was noise. With each component nestled within itself, I believed that there was a strong possibility of rattling. Surprisingly, everything is packed so tightly together that it makes zero noise inside my pack. On today's hike, I ran for approximately a quarter mile hoping to find out just how noisy the system would be. I honestly didn't hear anything.

The Pinnacle Dualist comes with two collapsible sporks, or "foons" as GSI calls them. Opening and closing the foon is accomplished by simply sliding the foon down the handle.


The Pinnacle Dualist comes with two bowls and two insulated mugs, with the mugs storing inside the bowls. One set is orange while the other is blue, a nice touch for two people that may be sharing the system. Inside each mug and bowl are measurement markings, handy for cooking.


The mugs are insulated with a neoprene type material which keeps your beverages hot for quite a while. Each mug also has a detachable sippy lid.


The Pinnacle Dualist provides a storage pouch for your stove in order to keep it from rattling around or getting damaged.


The Giga Power is much like any typical canister stove but is exceptionally small and light. Setting up the stove is a simple process of threading it onto a fuel canister.


The Snow Peak windscreen is a separate accessory. The windscreen increases the performance of the stove and decreases boil time. In order to mount the windscreen you have to partially open the stove support legs and slide the windscreen over them. Once mounted and you fully open the stove legs, they secure the windscreen down solidly.


The particular model of stove that I purchased features the Piezo automatic ignitor. One simple click of the gray push button ignites the stove.


On the lunch menu today was Ramen noodles, requiring two cups of boiling water. The Giga Power managed to bring two cups of water to a rolling boil in 3:46 minutes, in high winds.


The collapsible foons are sturdy enough to use for stirring while cooking, a concern from many reviews on REI and Trail Space.


Strainer lid in action, straining the broth from the noodles.


A bowl of noodles and a mug of chicken broth in less than five minutes in the field. Future menus may include a bowl of instant oatmeal and a mug of coffee.


The beauty of this system is that it provides a utensil, bowl, and insulated mug for two people. If you needed to, you could use the mugs as bowls, allowing you to serve for four people! In the event that I go out alone, I can leave half the system at home in order to make more room for spices, food, etc.
When you look at the entire system and all that it includes, it surprises you that it fits in the pot.


Aquamira Frontier Pro Water Filter

I’ve long carried water purification tablets (iodine) in all of my outdoors, backpacking, survival, and tactical kits. They’re inexpensive and take up minimal space; there’s really no reason why NOT to have them. Iodine tablets are effective against bacteria, viruses and giardia.

With tablets you obviously need to be able to halt your movement, fill a container with water, add the tablets, and give the tablets time to work. I wanted something where if I needed to, I could stop at a water source, dip a hose into the water, and drink relatively clean water. Enter the Aquamira Frontier Pro Water filter:


The Frontier Pro is a compact, non-pumping water filter. Keep in mind that these compact filters are not always effective against bacteria or viruses, so the water source you are intending to drink out of can not be heavily contaminated.

The Frontier Pro is 99.9% effective against giardia and cryptosporidium. Activated Coconut Shell Carbon reduces waterborne chemicals, improves taste, and eliminates offensive odors. A Miraguard antimicrobial coating suppresses the growth of bacteria, algae, fungus, mold, and mildew within the filter media.

The Frontier Pro comes with the filter itself, four extra pre-filters (a fifth is already installed inside the filter), and a water tube.


The latest version of the Frontier Pro has the Universal Quick Connect (UQC) fitting. The UQC fitting allows you to attach directly to any Camelbak, Source, Platypus, or Nalgene water bladders. This way you can fill your water bladder, attach the Frontier Pro directly to the drinking tube, and continue your movement (as seen on the package cover).


The filter body is a series of removable threaded chambers. These chambers can be changed to work with whatever type of water container you choose to use.


In the picture above, you can see the attachment point for the tube. This gives you the ability to attach the tube and filter water directly from a stream or other water source.


The chamber containing the pre-filter can be seen above. It’s clear to see how easy it is to replace the pre-filters as needed.

The drinking end of the Frontier Pro is a simple bite valve, protected by the plastic end cap. The end cap is held in place by rubber retaining bands, making it impossible to lose the cap. You simply pull the cap up and off the bite valve, and allow it to drop on the side of the filter body.


The “Bite Me” valve is a nice touch, shown below.


All in all, the entire Frontier Pro is a tight package easily stowed in a belt or utility pouch in your kit. I simply use two rubber bands to keep the whole package together. 


In addition to its ability to connect to standard water bladders, the Frontier Pro can also be used as a gravity feed water filter, as seen on the package cover. Simply by removing the bite valve and attaching the Frontier Pro to a suspended water container, you now have a gravity feed filtration system. The Frontier Pro’s standard threads also give you the ability the attach the filter onto most disposable water bottles (Arrowhead, Dasani, etc.), also illustrated on the package cover.

There is an adapter available from Aquamira that allows you to thread the Frontier Pro onto any standard home water heater. In an emergency or disaster situation, this will make it possible to simultaneously drain and filter the water from your water heater.

I’ve yet to do a field test on the Frontier Pro, but I will report back once I am able to get some hands-on experience.

Gear and Equipment: The Line System

The Line System is the most practical and redundant method of organizing your gear and equipment. Better organization can lead to better planning during equipment acquisition and more efficient distribution of kit within your load plan.

While poorly executed redundancy can lead to an unnecessary excess of weight, redundancy done right can mean a fail-safe in the event of equipment failure or degradation. The Line System is explained in more detail below.

3RD LINE: These are your sustainment kit items, usually contained in a ruck or pack. The 3rd line should be man or vehicle portable. Typical 3rd line items include: tent, sleeping bag, sleeping pad, stove, mess kit, etc. This is the equipment you live off of.

2ND LINE: The 2nd line's primary purpose is a fighting platform. It is usually contained in a chest rig or some other form of load bearing equipment such as ALICE LBE, MOLLE Fighting Load Carrier (FLC), etc. The 2nd line at minimum should have ammunition for your selected weapon systems.

The 2nd line also typically includes such items like communication equipment, navigation equipment, observation devices (binos, monoculars), and signalling aids (strobes, smoke grenades, chem sticks).  Because the 2nd line is your fighting rig, you should also include trauma equipment like QuikClot, tourniquet, and pressure bandages.

1ST LINE: These are the items that are on your body, on your belt, and in your pockets. These are the bare essentials like: pistol, first aid kit, survival items, flashlight, knife and/or multi-tool, small compass, etc.

The philosophy behind the Line System is to maintain your survivability as the situation changes. LIVE off your 3rd line, FIGHT off your 2nd line, and SURVIVE off your 1st line.

For example, if you have to ditch your ruck, you can fight and survive off your chest and belt rigs.
If you have to ditch your chest rig, you can defend yourself and survive off your belt rig. In the event that you have to ditch your belt rig, you damn sure better have sufficient knowledge and skills in your head to overcome whatever the situation may be.

The line system is very much like layering cold weather clothing; you have the ability to adapt as your environment changes. If you have no idea how to start putting your gear together, the Line System of organization is an excellent place to start.

A General Purpose AR15

We all know the AR15 to be a light, compact, accurate, and capable rifle. The M16/AR15 family of weapons and its 5.56x45mm cartridge has served me well, thus making the rifle my preference. I've carried some form of the M16 for my entire adult life serving in the Marine Corps and law enforcement. I am intimately familiar with the rifle and its use, manipulation, and maintenance.

My current AR15 has a 14.5" chrome lined barrel and a carbine length gas system, closely resembling the foundation of the U.S. Military M4.


The specifications are as follows:

Kaiser Defense (U.S. Defense Contractor) lower reciever
GG&G flattop upper receiver
14.5" chrome lined barrel
Daniel Defense 12" Lite Rail
Magpul CTR stock
Magpul MOE pistol grip
Magpul Enhanced Trigger Guard
Magpul Battery Assist Device (BAD)
Stag Arms ambidextrous safety selector
KNS trigger pins
Advanced Armament Blackout flash suppressor
Aimpoint T-1 (4 MOA) in Larue Tactical LT660 mount
TangoDown iO T-1 optic cover
Troy folding sights
Surefire X300 weaponlight
Blue Force Gear VCAS sling


In its current configuration, this AR15 represents a modern iteration of the M4 carbine and its capabilities. I feel that this is an excellent option for a general purpose rifle. It is light, handy, and easily transported. It is compact enough for close quarters work yet still retains the ability to reach out and engage both close and medium range targets. While the Marine Corps qualifies with the M4 carbine at 500 meters, the 5.56x45mm cartridge is ballistically lacking at that distance in my opinion. Can I consistently hit targets at 500 meters with an M4? Absolutely, but in a combat situation I would much rather do so with a 7.62x51mm rifle if available.

While this rifle is again more of a general purpose rifle, I have a BCM lower receiver in my safe that begs to be turned into more of a recon/recce rifle. My plan for that rifle is is a 16" or 18" barrel, mid-length gas system, and some type of variable magnified optic. Stay tuned!